Show off your pedicure!

School is out (I hate flip flops)!  Summer is here (I hate my fat feet)! Time to hit the pool (my toenails are actually cute, but no one gets to see them)!

Okay, so yeah, I have a love/hate relationship going on with summer.  I love not having to wear real shoes, or socks.  I’m a barefoot kind of gal – but that’s not allowed in stores, and kind of dangerous at pools.  So every year I start The Search.  The Search For Shoes That Will Fit.  I have extremely wide feet (WW if I can get it), fairly tall feet, but actually normal length feet (size 9ish).    Because of this, I have worn a lot of size 10s, a lot of men’s shoes, and a lot of whatever-will-fit-me instead of what-I-want.  My go-to shoe in the summer has been cheap Birkenstock knock-offs ($10 or less), which last a year, look like crap, but I can wear them long enough for the sole to wear down to fit my feet.

This year, I found AMAZING shoes, which I love – TOMS knockoffs (because women with fat feet aren’t allowed to wear TOMS).  I tried some from Avenue last year, was amazed at how comfortable they were, and nearly broke down in tears when they were falling apart after less than a week of wearing.  The Woman Within ones have been worn almost daily for the past 5 months, and are just now starting to get some holes.  But amazing as these shoes are – they don’t show off the cute pedicure I splurged on.

And what is the point of having a cute pedicure that only your family gets to see???

After several unproductive shopping trips (including one to Avenue, where the sweet saleswoman was personally mortified that she couldn’t get my feet into anything that would show off my toes), I sighed deeply and began searching the internet.  And I found THIS.  Kristen is RIGHT, these are Outrageously Comfortable AND Ridiculously Simple!    I grabbed a  pair of cheap flip flops from Joanns, a quarter of a yard of swimsuit fabric, and went to town with my mom’s help (I wanted to get the fit right, and my plus sized legs don’t fold as neatly and easily as Kristen’s do). TAH-DAH!!!

20140602-132933-48573166.jpgMy super cute new flip flops that fit!  Of course, they’re blue.  You have been here before, right?  Blue is my color. 🙂
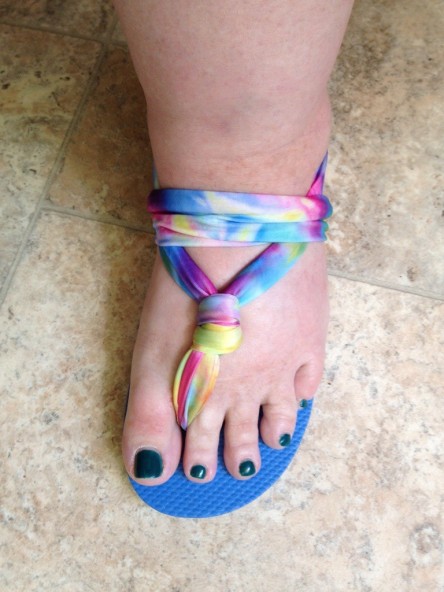
20140602-132935-48575082.jpgLook – cute pedicure!  I know, fat feet, but cute toenails. 🙂  Look, no shoe is ever going to make my feet look like they should be in a shoe ad, but it shouldn’t be too much to ask that I can have sandals that don’t look like orthopedics.

I did make a couple of changes to Kristen’s original tutorial (watch the video, btw, makes it super clear to understand what she is doing).

  1. The swimsuit material is fairly thick and . . . um, not squishable (if that makes sense), so the knot in the front of the shoes (between the toes, and through the hole) would be too big to walk on comfortably.  Solution: taper the ends of the two sections of fabric until they are half the width, and the knot will easily slip up into the hole in the bottom of the sole.
  2. Also, my mom is a bit of a worrier, so she suggested I fill the holes with glue to add a layer of security .  But be careful what glue you use!  There is no point in filling the holes with a water soluble glue (presumably, you will wear flip slops around water – like at a pool).  Most of the shoe making resources online say that if you can’t get your hands on Shoe Goo, then Gorilla Glue will work.  Again, be careful though – Gorilla glue expands 3x, so do a sample first.  You won’t need to fill the hole with liquid Gorilla Glue!

Now I am ready for my next big adventure – our family’s summer vacation in San Antonio.  We’ll be getting the final bang out of our Annual Pass buck at Sea World and staying at a resort, where I am already booked for a new pedicure (I’m thinking blue nails this time, what d’you think?? *grins*).  And these are WAY better than the disposable foam flip flops spas give you so you don’t mess up your polish.

Camping SWAPs

Links to more ideas:

A lot of the camping SWAPs are the same thing you see twenty million times (like the bedroll and marshmallow on a stick above).  If you have a particularly unique one, I would love it if you posted a link or a pic in the comments!

Why Troop T-shirts are Worth Making

Samples for the bleach technique Troop T-shirts, IDs, and More

Samples for the bleach technique Troop T-shirts, IDs, and More

I am the lead Facilitator (trainer) for a training session called Troop T-shirts, IDs and More. It’s held twice a year at our big training events, and I usually have two sessions of it. One of which was last weekend. Thankfully, the Spring session is a repeat of the Fall, so I didn’t have to do a lot of prep work for this one.

One of the things I like to stress is why it’s important to make Troop T-shirts, and the main reason is why I am posting about it here. The main reason I think it is important to make Troop T-shirts is that when you are in a large group of Girl Scouts, you can easily scan to find YOUR Girl Scouts. As I said when I talked about the last Convention, at large Girl Scout events, there are likely to be hundreds or even THOUSANDS of girls wearing the same Girl Scout uniform as the girls in your troop, and being able to count noses without resorting to holding the hands of your 5th graders is invaluable.

20140326-171740.jpg

Our last Community Weekend. Notice the two Daisy troops in front with matching shirts? That’s what I’m talking about!

Also, imagine taking your girls to Disneyworld.

*shudder*

So, I would encourage you to grab some paint, dye, bleach, crayons, or any of a bazillion other craft items and decorate t-shirts with your girls. You don’t have to be an artist, and whatever feelings you may have about your artistic inadequacies are going to exist in your girls, too; so use this as a tool to help them learn that you don’t have to be an “artist” to be creative.

Here’s a link to my Troop T-shirts, IDs, and More Pinterest Board. And as a special bonus, I’m including a download link to the handout from my last version of the training session, where I taught how to make sandpaper/ crayon transfers. There’s a lot of good info on there from how to modify the basic idea for all the levels to how to incorporate it into your troop’s badge work.

Business Card Management

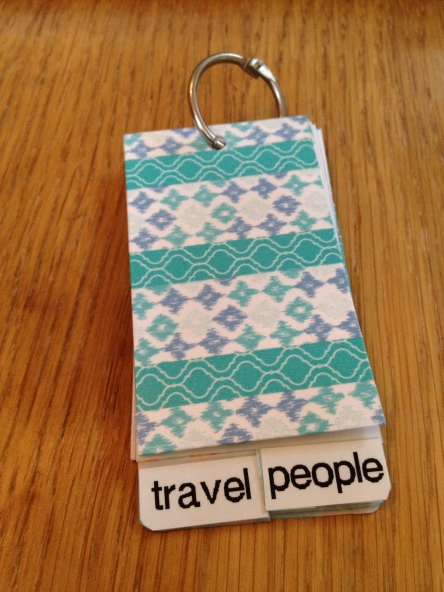
So one of the points of going to Conventions and Conferences, regardless of what kind, is to make connections. I think the bloggers have figured out a great way to manage those connections, as far as physical items go.  Every blogger comes to a conference prepared with a stack of their own business cards, a one hole punch, and a binder ring.  Then, as they receive business cards from their new besties at Conference, they punch a hole in one end and slide it onto the binder ring, maybe making a few notes about the person on their card.

I think this is brilliant.  Like a portable, cheap rolodex.  Cathe Holden made a great tutorial on how to do this, which inspired me to make the following little tutorial:

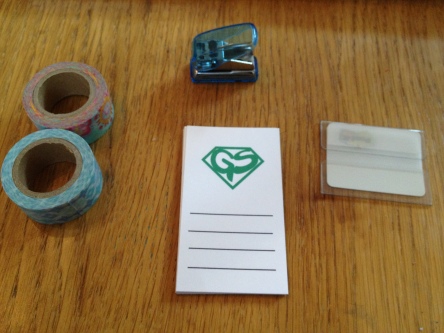
materials

materials – business card sized cardstock, Post-It tabs, washi tape, hole punch (doesn’t have to be as cute as mine).   Not pictured: binder ring, scissors, pen

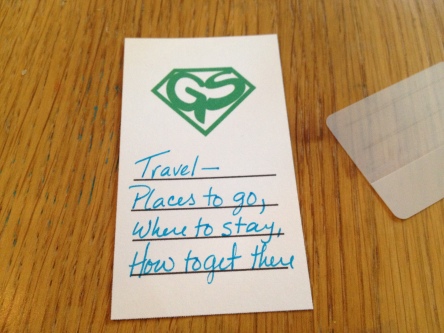
printed dividers

printed dividers – I printed a set of 8 business cards using Avery Design and Print online.

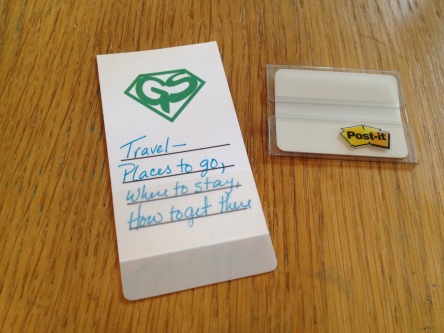
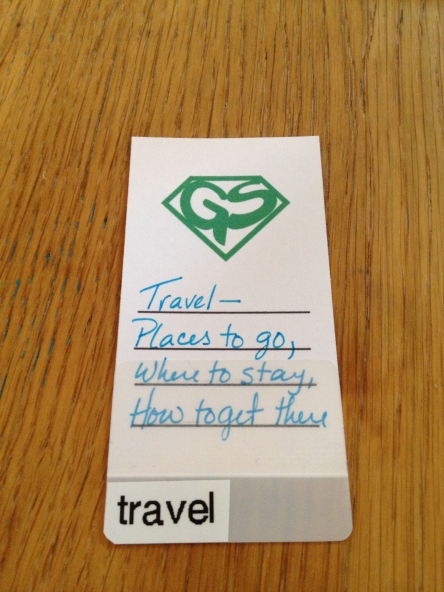
attach tab to front

attach tab to front – I love these tabs!

label tab

label tab – you can also write on the tabs themselves, but you can only use ballpoint pens, I think.  The felt tip Flair pens I was using smeared, so I used my handy dandy labeler.

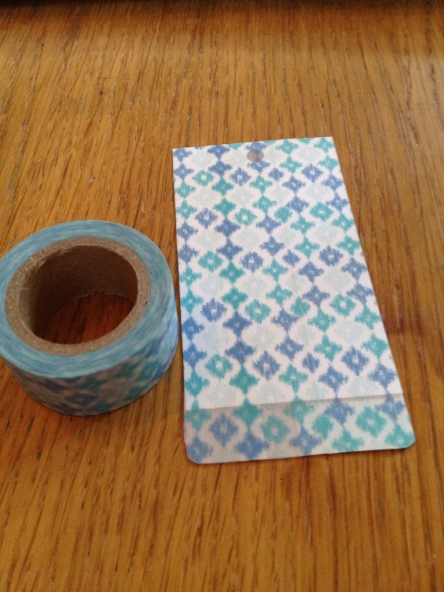
cover back with washi tape

cover back with washi tape

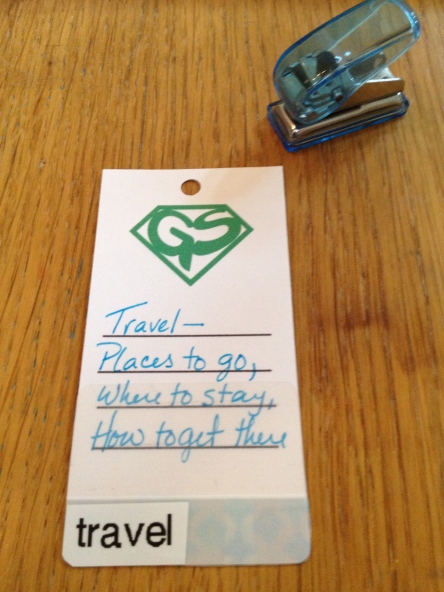
punch hole

punch hole

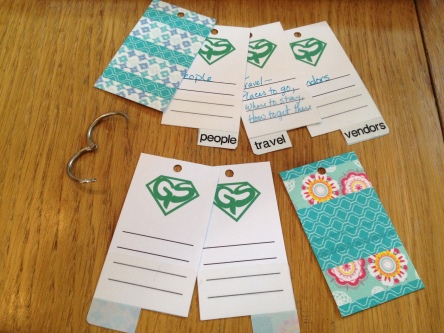
covers, pre-made dividers, blank dividers

covers (2 business cards washi-taped together), pre-made dividers, blank dividers (notice I cut the tabs in half to make finding a particular section easier)

finished book

finished book – just thread everything onto a binder ring

I know that the vendors will all have business cards.  I know that some of the ladies I meet will have business cards.  Business cards are kind of like upscale SWAPs.  🙂

I have already started looking into make some business cards for myself.  Cool ones, not boring business-y ones.  But not too “out there” either.  Ones that will say, “I’m a Girl Scout Leader,  I work with girls AND adults,  I have a sense of humor, and I get things done.”

I think I have decided to go with Jukebox.  I got one of their sample packs sent to me, and the cards are really nice quality.  I have read very good reviews concerning their quality and customer service.  Normally for my more artsy business cards, I use Moo because I love the ability to have 50 different cards in a pack of 50 cards.  But that pack of 50 cards costs $15 even if it’s all the same design.  With Jukebox, I get 500 cards for $53.  The same order at Moo would cost over $100.  And 500 cards does seem like an awful lot to me, but I figure I’ll give away 100 at Conference, maybe another 50 every year during recruiting to new leaders in my Community, and after I’m no longer in my current position with my Community, they will be SWAP fodder. 🙂

samples from Jukebox

Do YOU have a Girl Scout business card?